Create Webhooks
All webhook endpoints must be configured withhttpsURLs that acceptPOSTrequests with JSON payloads.
You can create a webhook to listen to all events in your organization or specific events (e.g account.opened, customer.created etc).
| Verb | URL |
|---|---|
| POST | {{baseUrl}}/api/v1/webhooks |
deliveryMode: Anchor supports two modes of delivery attempts for the webhook. AtMostOnce and AtLeastOnce.
When using AtMostOnce, an attempt will be made to deliver a single webhook event to the specified URL. If the delivery fails for any reason (timeout or HTTP response code other than 200), the event will not be retried. When using AtLeastOnce, events will be delivered to the specified URL. In the case of a timeout or a non-successful HTTP POST, we will also retry 5 times.
enabledEvents allows you to specify the array of events you want to enable and receive. When not specified, it defaults to enable all events in your organization.
supportIncluded set to true allows you to fetch related resources to a webhook with just one API call. When this option is used, every webhook will have the full resource included in the payload of the event - for example, the customer.created event will include the full customer resource.
Here is a sample payload to create a webhook that listens to customer.created, account.opened, and virtualNuban.created events.
curl --request POST \
     --url https://api.getanchor.co/api/v1/webhooks \
     --header 'accept: application/json' \
     --header 'content-type: application/json' \
     --header 'x-anchor-key: <API Key>' \
     --data '
{
  "data": {
    "attributes": {
      "deliveryMode": "AtLeastOnce",
      "url": "https://example.com",
      "token": "12345",
      "label": "notifications",
      "supportIncluded": true,
      "enabledEvents": [
        "customer.created",
        "account.opened",
        "virtualNuban.created"
      ]
    },
    "type": "Webhook"
  }
}
'
{
"data": {
"id": "16969268678680-anc_wk",
"type": "Webhook",
"attributes": {
"createdAt": "2023-10-10T08:34:27.880392",
"allEventsEnabled": false,
"deliveryMode": "AtLeastOnce",
"secretToken": "12345",
"enabledEvents": [
"customer.created",
"account.opened",
"virtualNuban.created"
],
"label": "notifications",
"url": "https://example.com",
"status": "Enabled",
"supportIncluded": true
}
}
}Setup webhooks on your dashboard
You can quickly create webhooks from your dashboard to listen to events that happen within your organization.
To create a webhook from the Anchor Dashboard, follow these steps:
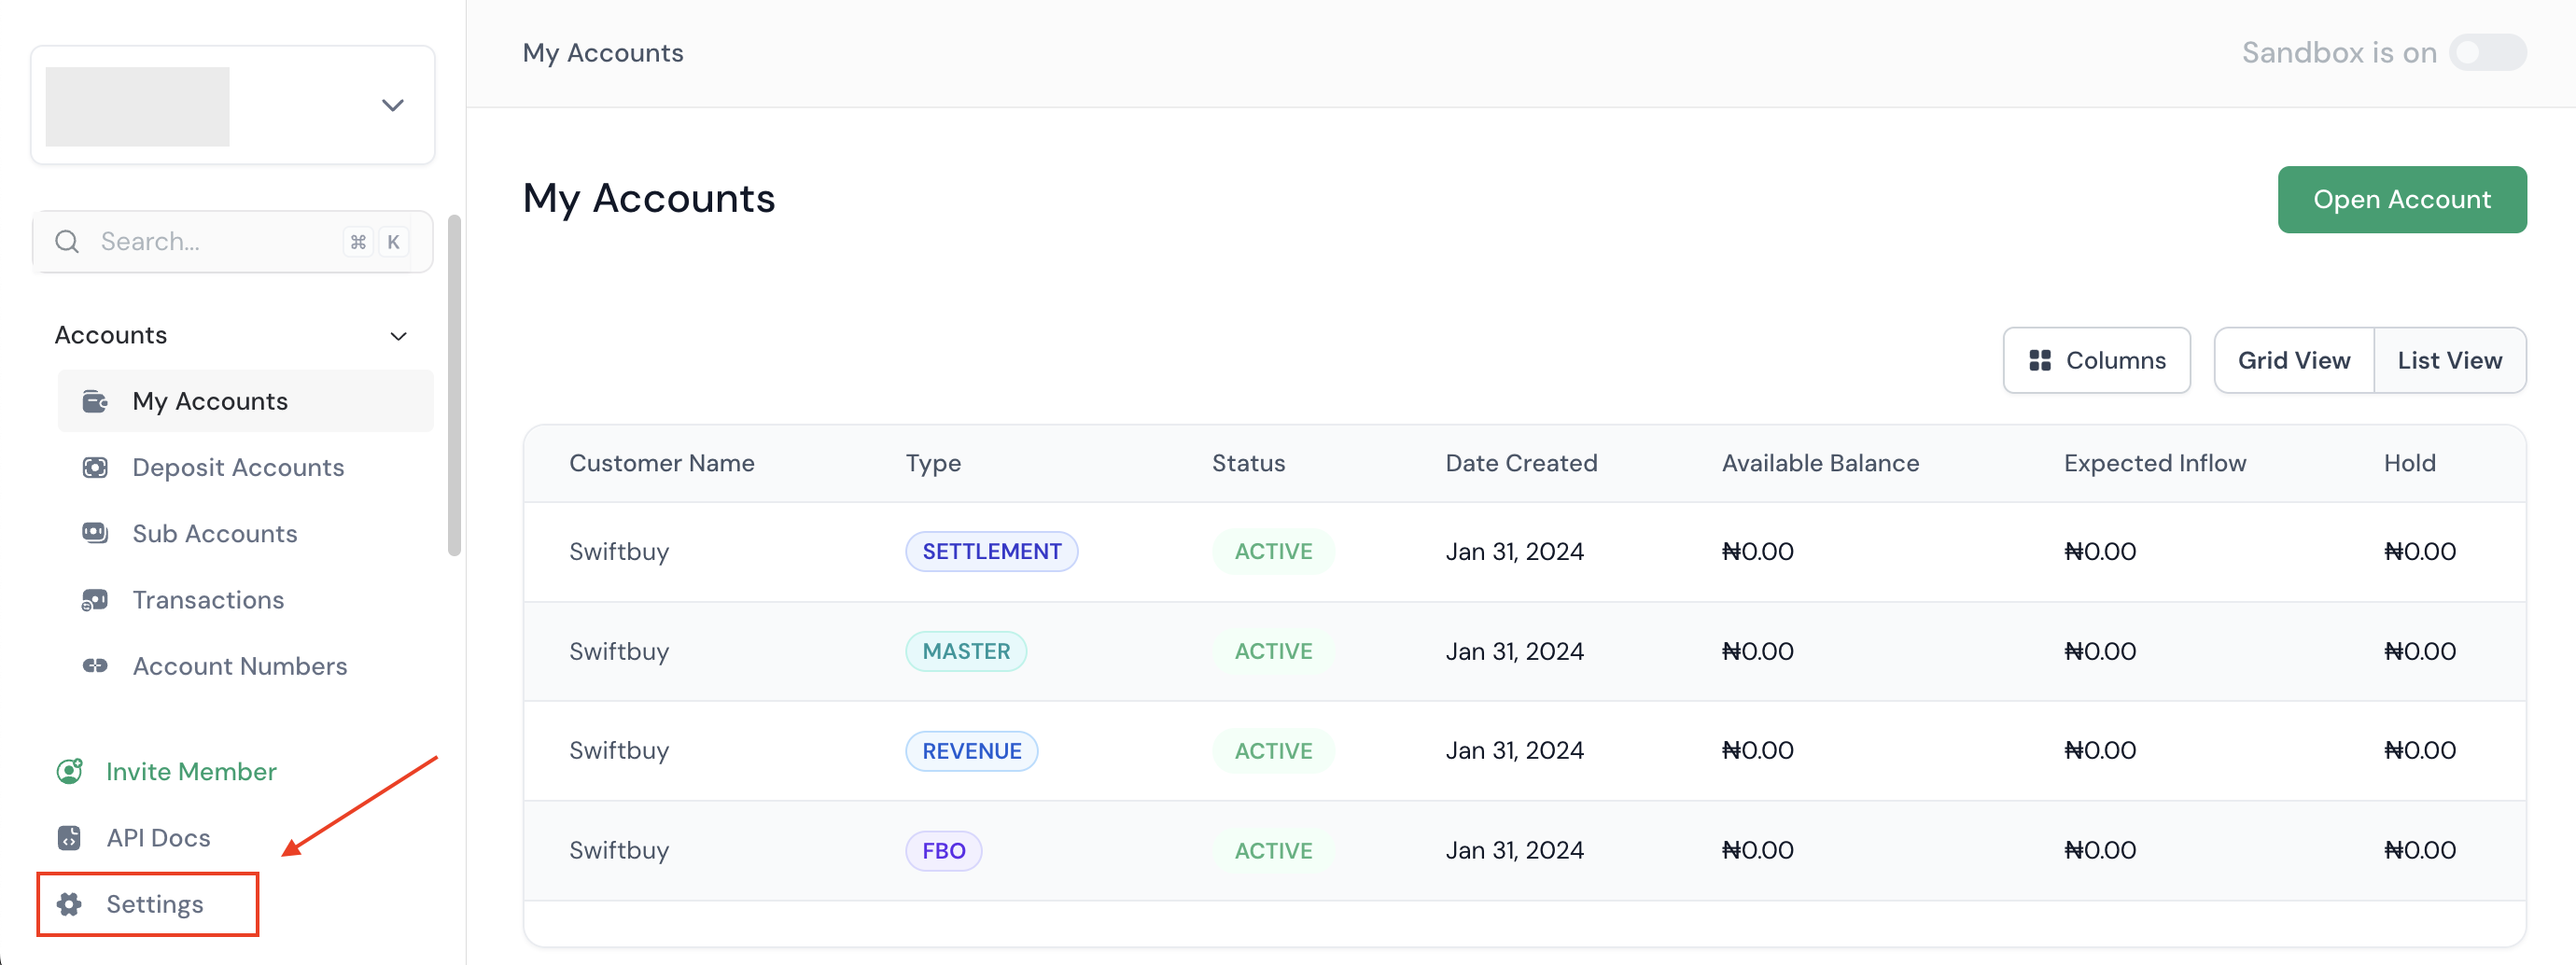
- Log in to your Anchor Dashboard.
- Click on the Settings >> Click on the Developers tab.
- Click on the Webhooks tab >> Click on the Add Webhook button.
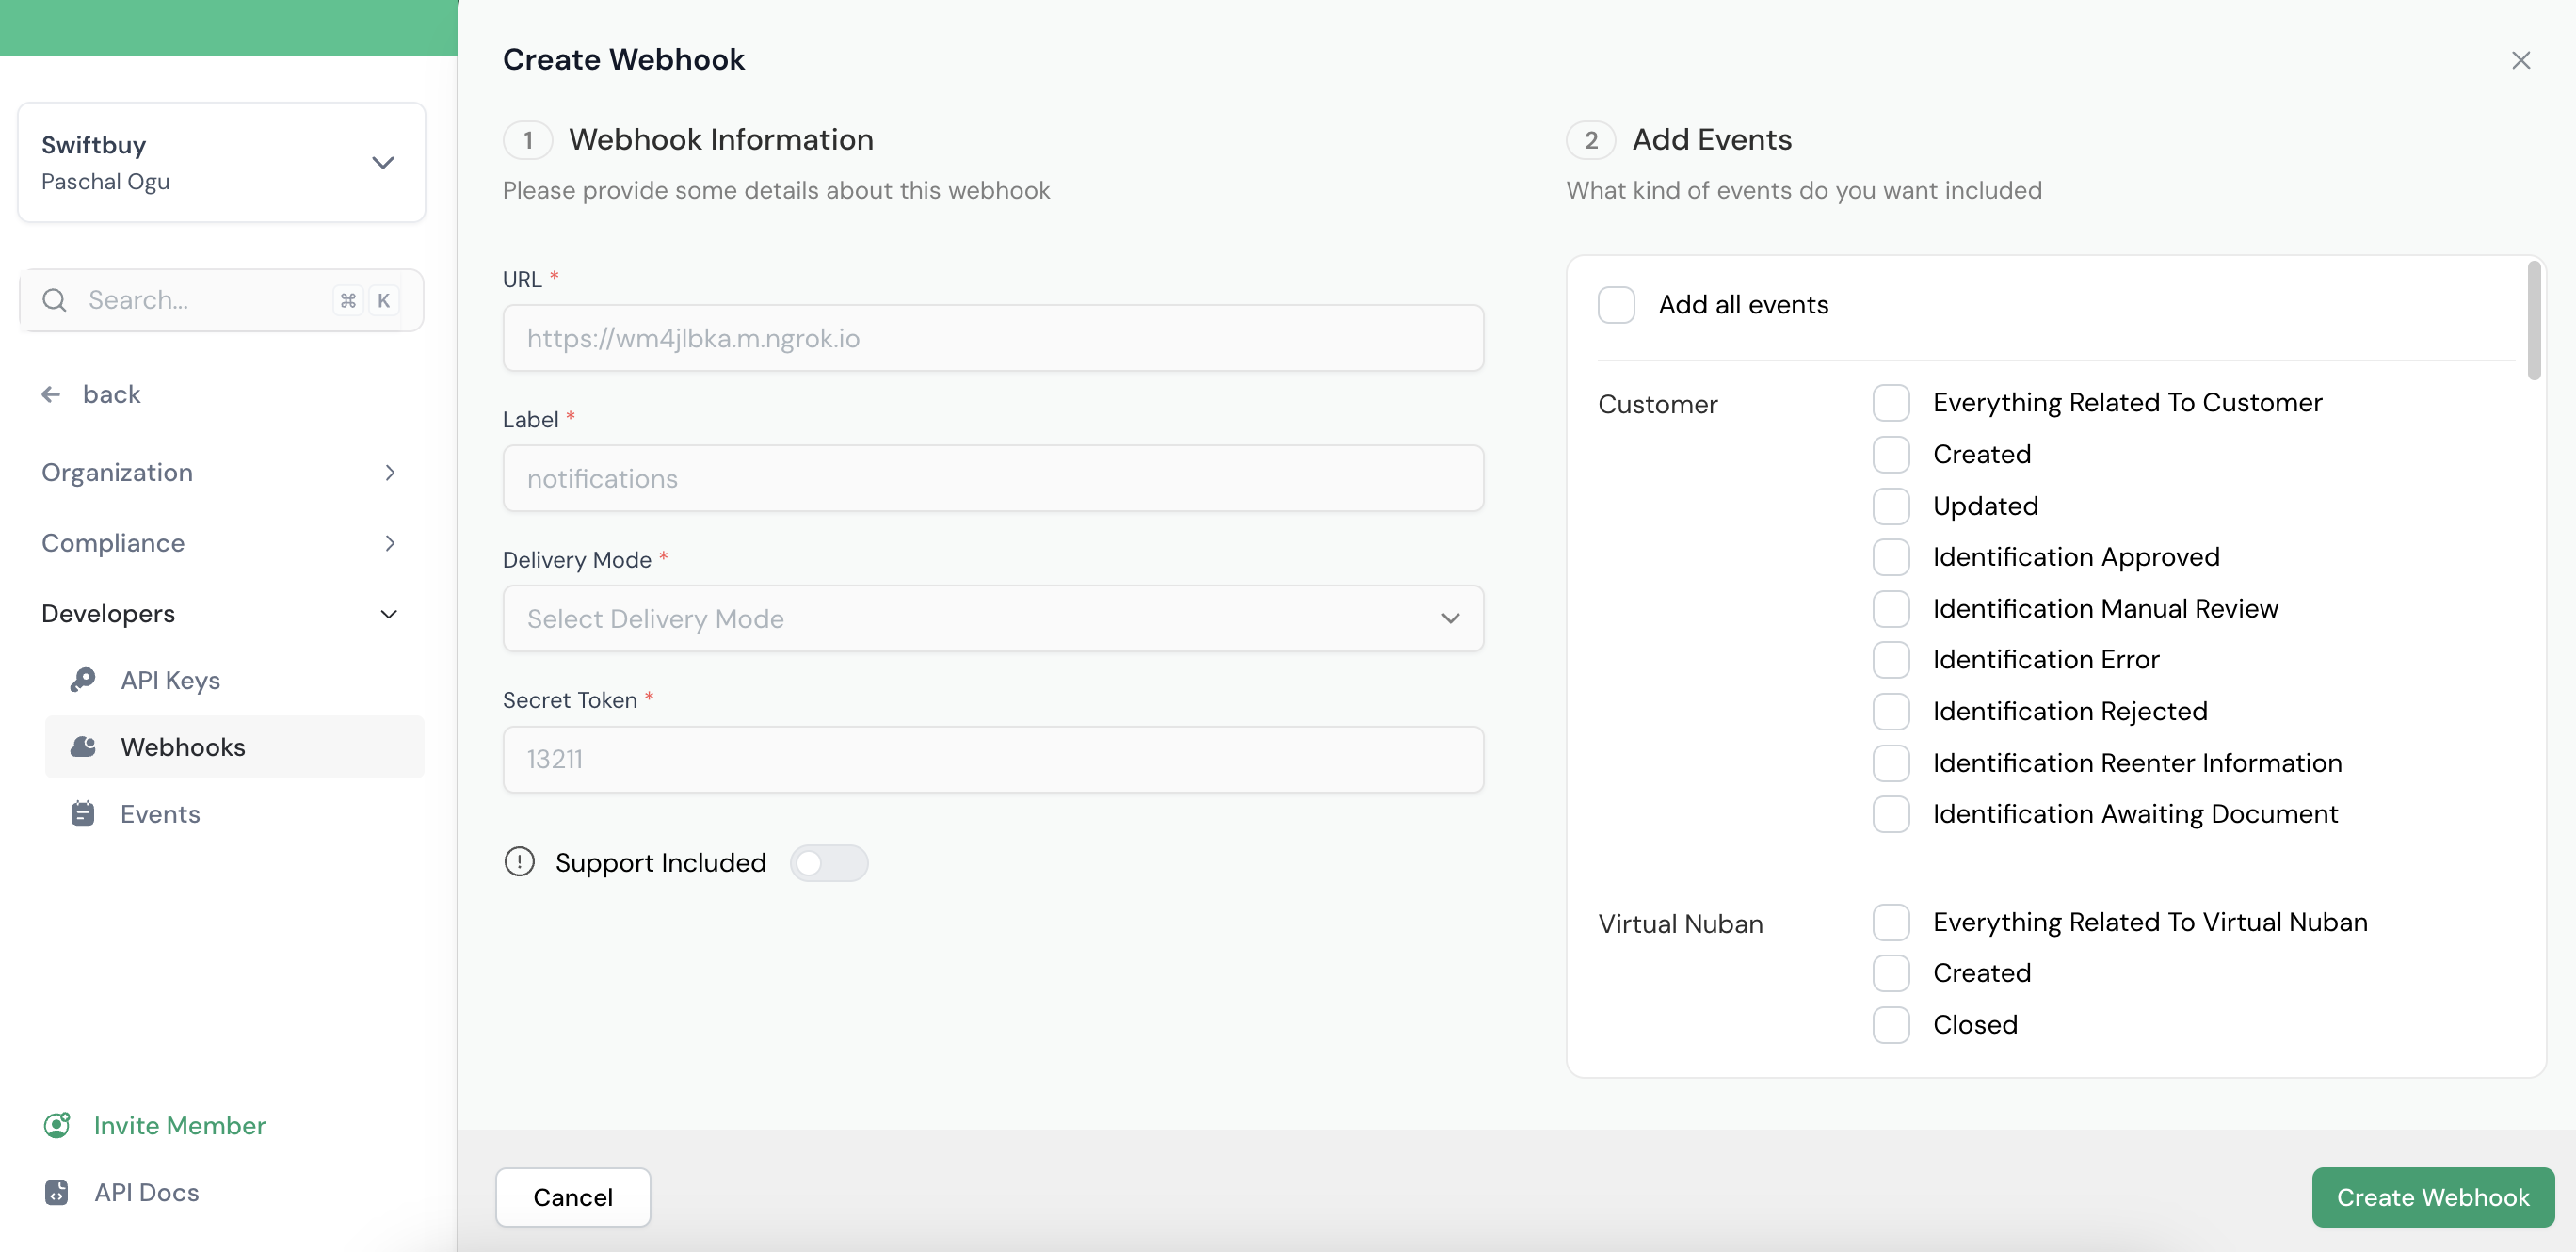
On the Webhook Information Page:
- Enter the endpoint URL you want your webhook to be sent to.
- Give your webhook a label. Should you create more that one webhook, this name will help to identity the webhook from the list.
- Select your delivery mode.
- Choose the option to enable Support Included. By default, this is set to false. When this option is enabled, every webhook that is related to a specific resource will have the full resource included in the payload of the event - for example, the
customer.createdevent will include the full customer resource. - On the Add Events section, select the permissions you want to receive.
- Click on Create Webhook to save.
Updated about 1 year ago